Make Room For Kids Art Wall Galleries

It’s back-to-school time, which means backpacks, supplies, and if you’re a parent, you see an influx of artwork coming home. One of the questions I often hear from families is, “What do we do with all this art besides sticking it on the fridge?”
As a family-friendly designer (and a mom who’s been there), I know how meaningful it is to display your child’s creativity in a way that feels special, organized, and part of your home. Years ago, when my kids were school-aged, I came up with what I called “The Back-to-School Plan.” One of the planned items was Each year before school started, we would sort through the stack of art they created. Favorites went into an artist’s portfolio, and the best of the best were showcased like a gallery wall.
The result? A display that felt polished, personal, and full of pride, something we still treasure years later.
Here’s how you can create your own kids’ art gallery at home:
Step 1: Choose and Prepare the Artwork
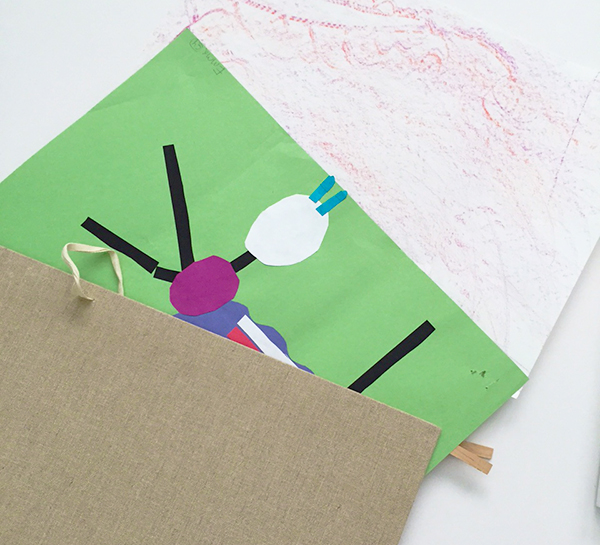
Sit down with your kids and select their favorite pieces. This is a fun way to involve them in the process and let them feel like true artists. Use an art portfolio to store everything you’re keeping long-term. When it comes to displaying, don’t worry about torn edges or rumpled paper, matting will hide imperfections and make the artwork look professional.
Step 2: Pick the Right Frames
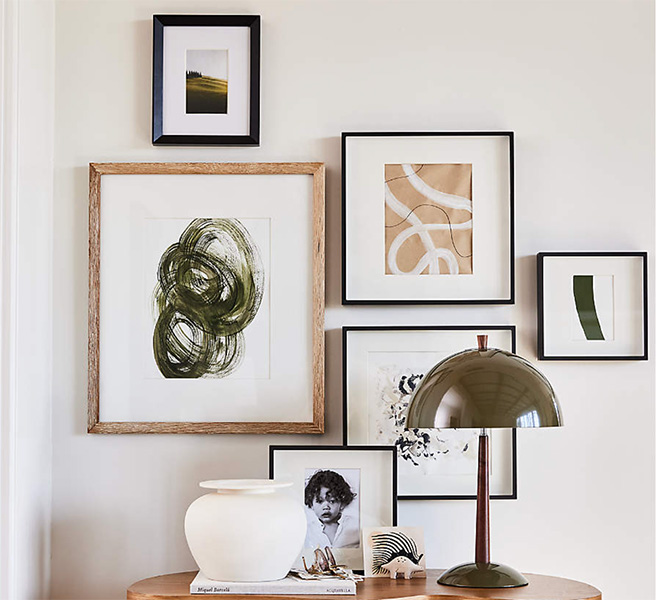
Look for frames that allow for mats, and double-check sizes before buying. You may need to trim the artwork a bit to fit. A well-chosen frame instantly upgrades the presentation and makes the art feel worthy of display.
Step 3: Plan Your Layout
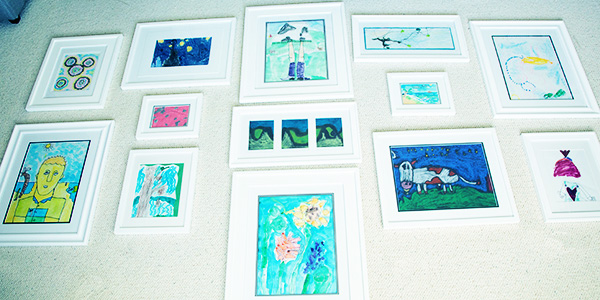
Before hanging anything, insert the artwork into the frames and play around with the layout on the floor. Start from the center and work outward. Aim for 2–3 inches between frames, but don’t worry if spacing varies slightly different sizes can make the gallery feel more dynamic.
Step 4: Test With Paper Templates
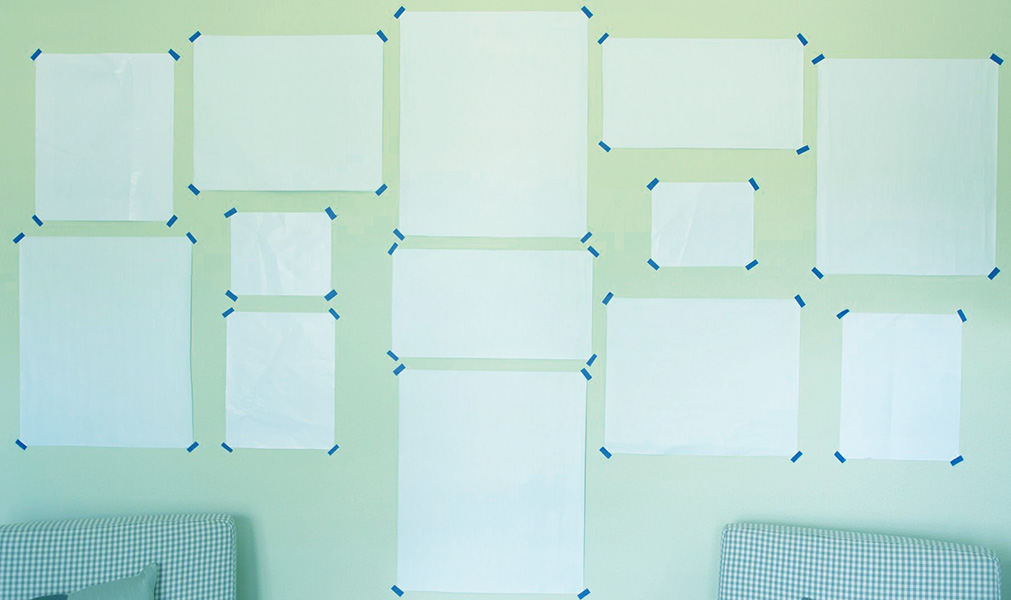
Cut paper to the size of each frame (old wrapping paper works perfectly), tape them to the wall, and adjust until you love the arrangement. This extra step saves time and prevents unnecessary holes in the wall.
Step 5: Hang the Gallery
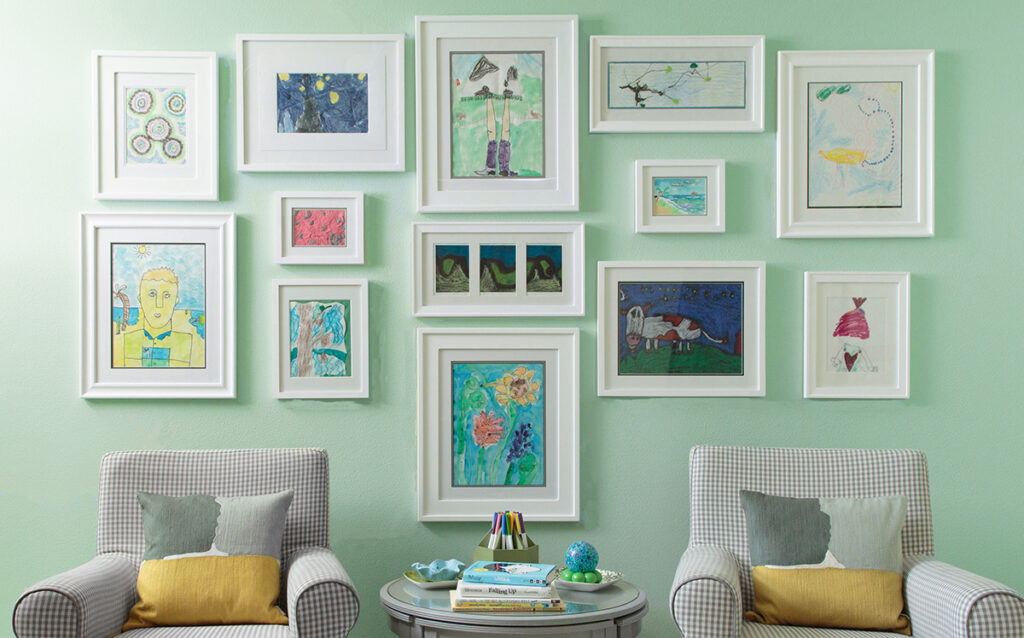
Once your layout is set, it’s time to hang. Start with the center frame, then work outwards. A good rule of thumb is to place the middle section about 60” from the floor or 12” above furniture so it feels balanced in the room.
Tip: Command strips are a great option if you don’t want to nail into the wall. For a more permanent option. Or if you’d prefer to skip the hassle, you can always hire a professional art installer.
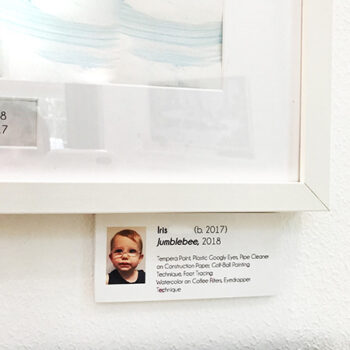
Bonus Idea: Add Artist Labels
One of my clients shared the sweetest idea: museum-style name tags. Using avery printable business cards you can type your child’s name, title of the piece with a fun description, and date on a little card to hang next to the frame. It makes the gallery feel official and gives your kids an extra boost of pride.
Final Thoughts
Creating a kids’ art gallery is more than just decorating, it’s about celebrating your child’s creativity and making them feel valued. The best part? It looks polished and purposeful, blending beautifully into a family home while keeping clutter at bay.
So, this school year, instead of piling artwork in a drawer or crowding the fridge, try giving it a spot on the wall. You may just find that these displays become some of the most treasured “art collections” in your home.
This post contains affiliate links. This means if you click a link and purchase something, I may get a small commission from it at no cost to you. I only refer things that I would use myself and recommend to clients!

Meet Karen Davis
Marker Girl was inspired by an unforgettable moment with my daughter, a marker, and our furniture. That experience sparked my mission to find stylish, family-friendly furnishings and help others create spaces where life thrives without compromise.
My blog shares the very best of what I have learned about family-friendly design these past 20 years.

Our Interior Design Services cater to your family’s lifestyle.

Get Our Latest Interior Design News In Your Inbox
Save yourself some time and effort, opt-in to my email list. You will receive recaps of the latest tips and advice about designing a family home every month!
Browse by Category:


